Effective, Economical, Precision Laser Process Monitoring with Coherent SmartSense+
The SmartSense+ solution improves quality and reduces scrap rates in demanding laser cutting, welding, drilling, and marking applications.
April 12, 2022 by Coherent

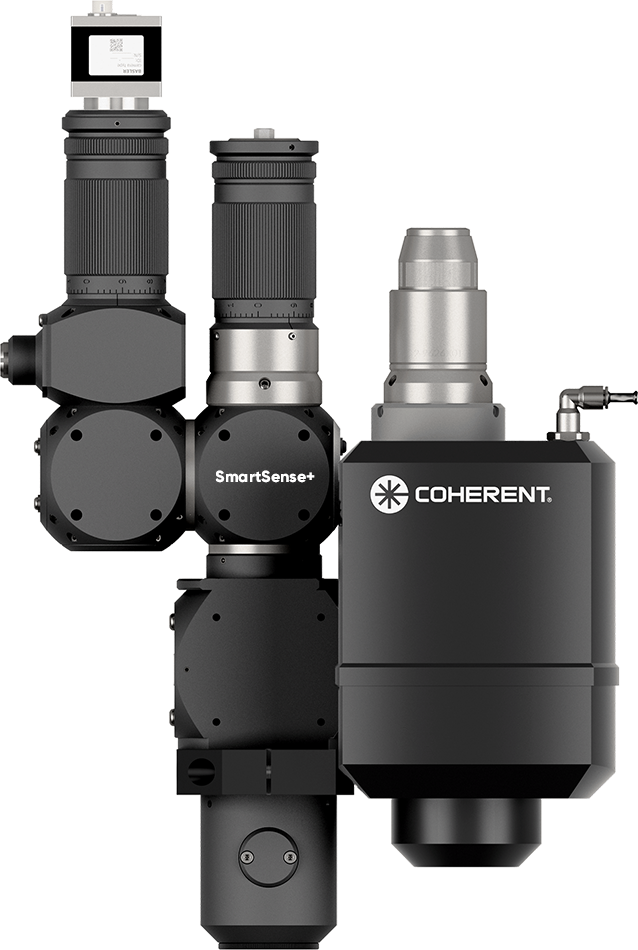
Coherent makes laser process monitoring easier and more accessible than ever with the introduction of SmartSense+. This accessory enables improved laser processing results and better reproducibility, and also provides traceability and documentation data. The latter is particularly vital in medical device, e-mobility, microelectronics, and other high-precision manufacturing applications.
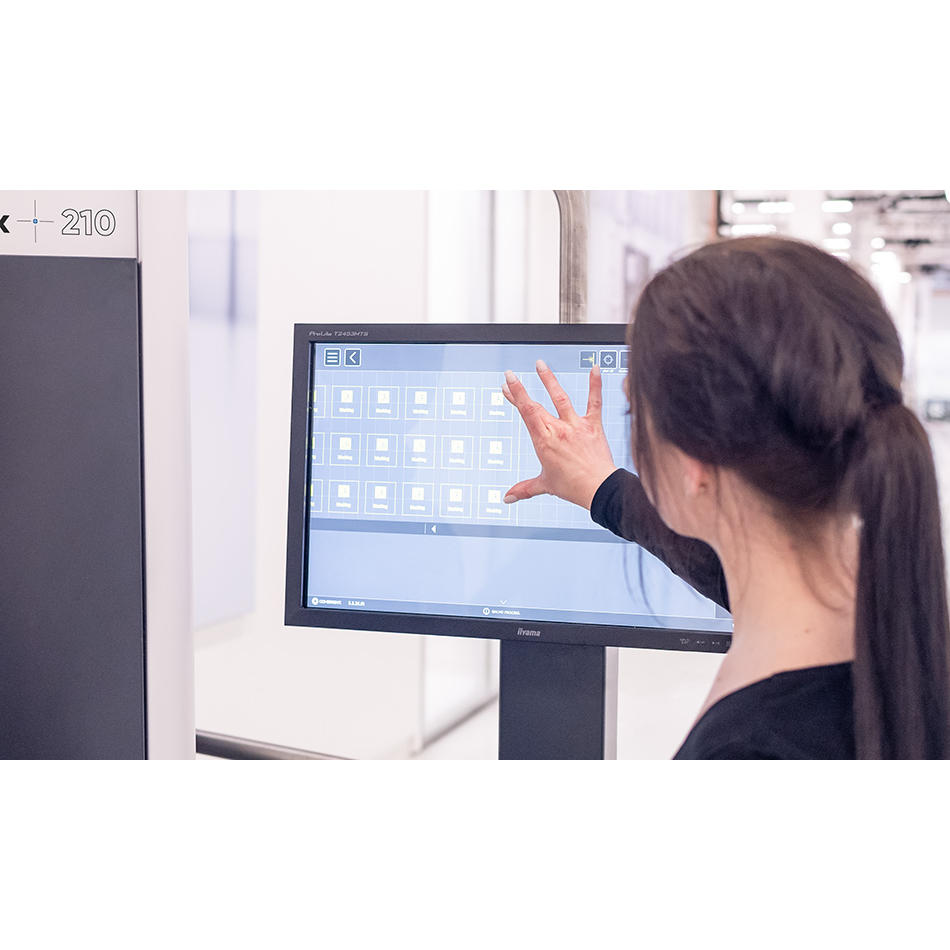
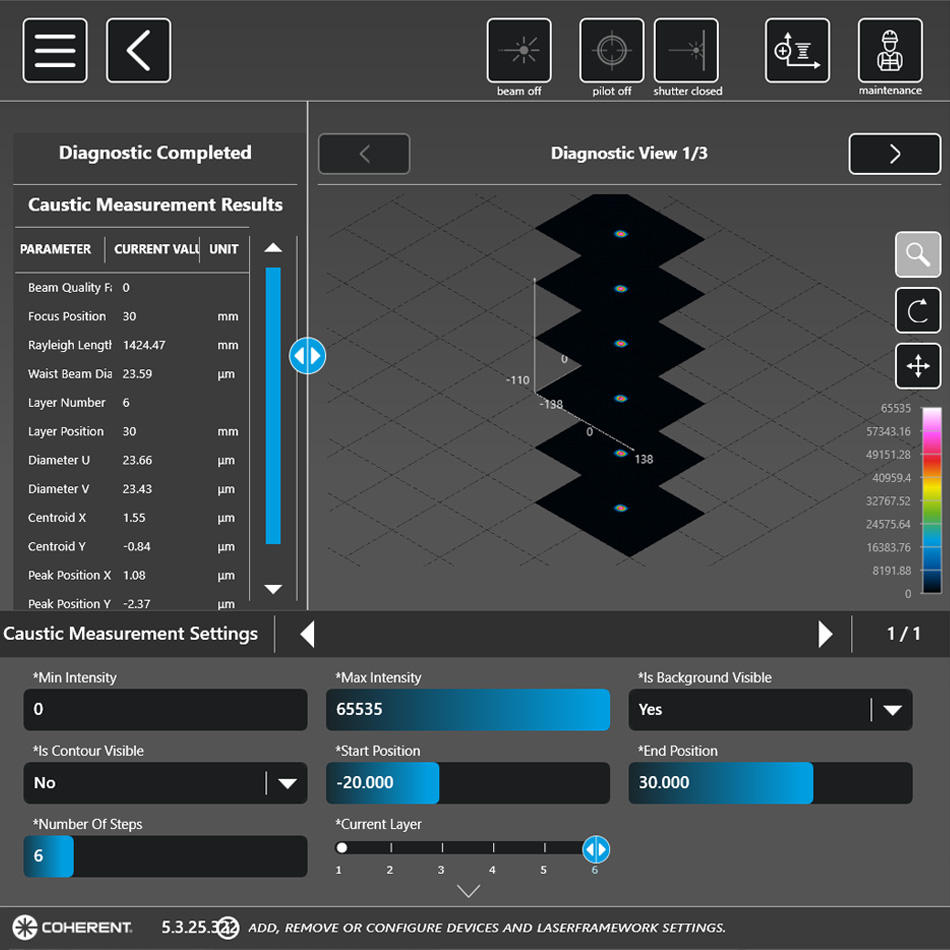
SmartSense+ is an opto-mechanical accessory which incorporates optical detectors and (optionally) acoustic sensors, and includes all the required data acquisition and signal processing electronics and software. It is readily integrated into Coherent ExactCut, ExactWeld, StarCut, MPS, and PowerLine series laser systems. SmartSense+ operation is included as part of our integrated software platform, Coherent Laser FrameWork, on applicable systems. SmartSense+ is also compatible with several Coherent fiber, diode, and ultrashort pulse (USP) industrial lasers.
If you can’t measure it, you can’t improve it
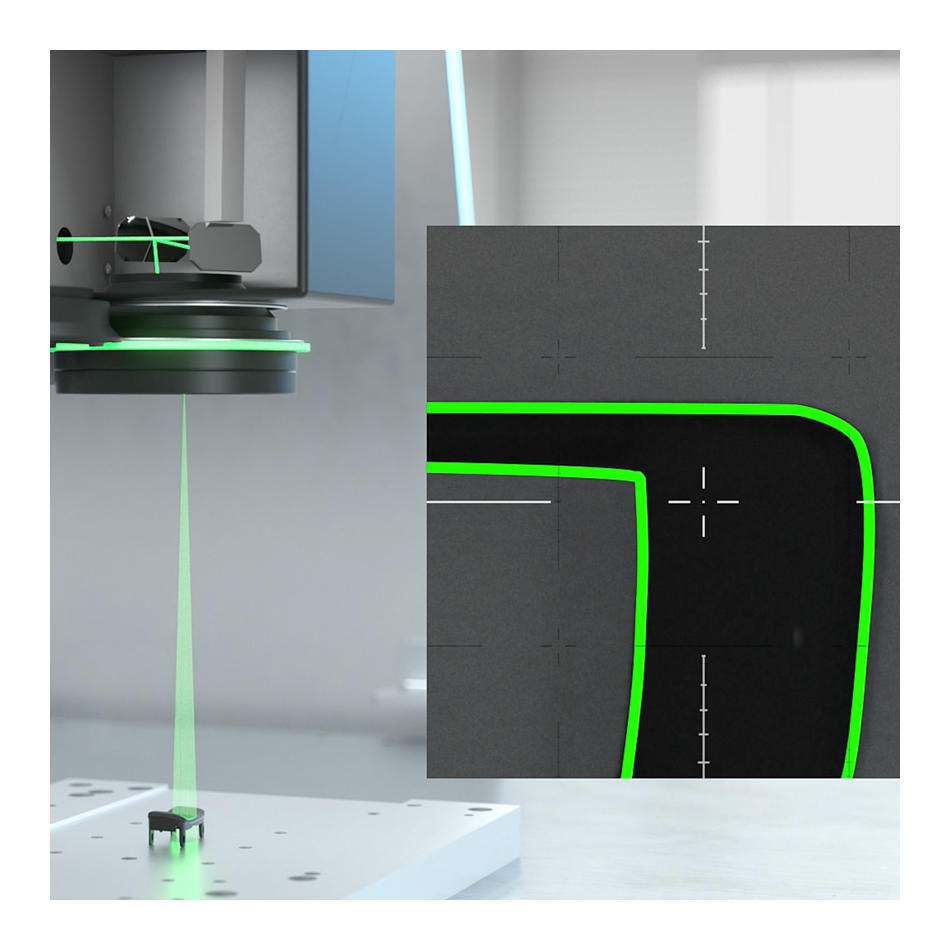
Real-time, in-line laser process monitoring is critical for any application which requires high-quality results, and product-to-product and batch-to-batch consistency. Furthermore, early detection of laser process variations provides the opportunity to stop or correct production before a bad part is assembled or – in a worst-case scenario – shipped to a customer.
Two of the techniques most commonly employed for detailed in-line process monitoring are high-speed cameras and optical computer tomography (OCT) measurements. The limitations of high-speed cameras are high cost and an inability to see anything below the part surface; a capability which is particularly important in welding. OCT provides that subsurface view, even performing keyhole depths measurements during welding. But it’s expensive to implement.
SmartSense+ delivers the same dynamic view of laser processes both on and beneath the surface, but using an inherently less complex and costly approach. The SmartSense+ optical system captures back-reflected laser light, plus light emitted by the process itself. This light is split into its visible, laser wavelength, and near-infrared (NIR) components, and sent to three separate detectors.
Together, these signals deliver detailed information about the absorption of the laser light, the characteristics of the plasma (ionized plume) created by the laser process, and the surface temperature of the part. The option for detecting acoustic signals, using piezoelectric contact sensors and microphones, enables acquisition of an even more comprehensive process fingerprint, such as heat cracking in a joint during or even after the welding process.
SmartSense+ is, well, smart
One of the positive attributes of OCT is that it directly measures geometrical information, like weld depth, or weld seam width. In contrast, the optical and acoustic measurements obtained by SmartSense+ are not “absolute.” This means that testing must be performed to establish what signals constitute a “good” process, and which indicate errors (and the magnitude of those errors).
The software that controls SmartSense+ makes this all easy to do, and delivers extremely effective results. It actually offers two methods for accomplishing this goal.
First, the software can make a “pathway determination.” In this case, several process runs are performed, and the highest and lowest signal curves from each of the sensors are correlated with the actual results to establish the acceptable operating band for each. Any process which then goes outside of these limits (the pathway) during production is then immediately flagged.
The second approach uses learning algorithms and artificial intelligence (AI) to analyze a set of tests and then correlate these with good or bad results. After the system is “taught” in this manner, it can measure actual processes and determine quality with a high probability of reliability and success. The great thing about this method is that it goes well beyond delivering just go/no go indications for an established process, and can actually provide an indication for why a process went wrong.
SmartSense+ provides laser process details
So, what exactly can SmartSense+ actually measure with all this information? Quite a bit, in fact. In a welding process, for example, it can deliver data on:
The process:
- Whether the welding process actually occurred or not
- Horizontal-and vertical-part gap width
- Process and shield gas flow changes
Laser operating conditions:
- Power density changes
- Laser power fluctuations
- Shifts in laser spot focal-position
Weld quality assessment:
- Surface defects, such as contamination and scratches
- Holes, voids, and microcracks in the weld
- Insufficient penetration or undercuts
- “Humping”
- Spatter
In addition to delivering high-quality process data, SmartSense+ is also versatile. The use of high data acquisition rates enables it to work with both continuous wave (CW) and pulsed lasers. Plus, it can accurately measure both high- and lower-power industrial lasers. And, while process monitoring of this type has traditionally been used only with laser welding, the information provided by SmartSense+ also makes it useful for cutting, marking, engraving, and even cleaning applications.
Learn more about SmartSense+ and Coherent Laser FrameWork.
Related Resources


