Coherent BeamInspect Puts Laser Beam Metrology into Production
This laser beam diagnostic system integrates right into our materials processing machines to keep you running at peak efficiency and quality.
April 12, 2022 by Coherent

Anyone cutting, welding, or marking with lasers knows that quality of the focused spot puts the ultimate limit on process results. It’s just like having a dull knife – no matter how skillfully you use it, you still won’t get good cuts.
This means that frequent measurement of beam quality is essential to keeping a laser process working right. But, the problem is you can only get truly accurate measurements exactly at the point of beam focus inside the machine. And, that location is hard to get at; plus, most of commercially available beam measurement systems are too large to fit in that space.
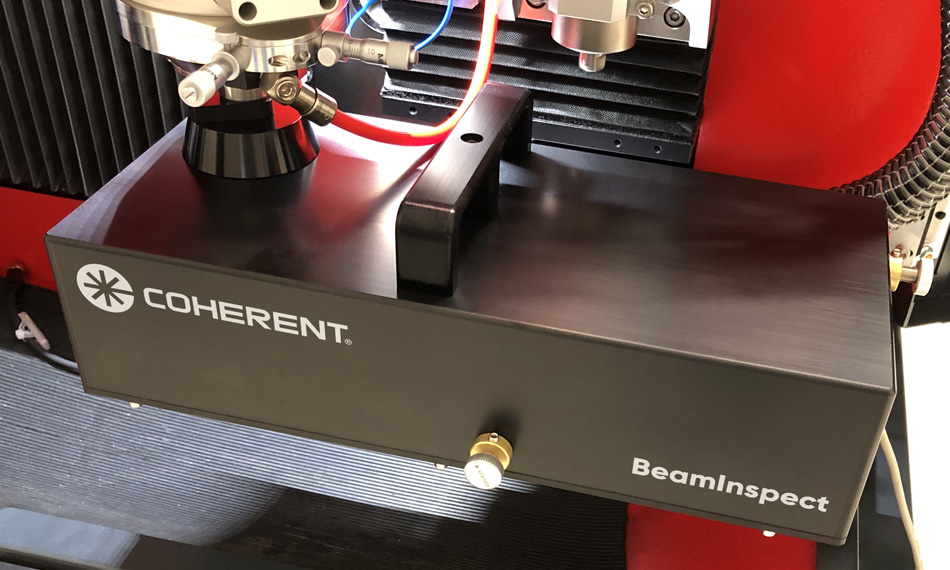
Coherent is excited to announce a solution to this problem with BeamInspect – a laser beam diagnostic accessory that integrates directly into our StarCut Tube, ExactCut, and ExactWeld laser machines. It delivers all the measurement capabilities you need to fine tune your process to perfection – and to keep it there. BeamInspect is also more economical than most of the standalone beam metrology systems available for measuring high-power, tiny, focused laser spots.
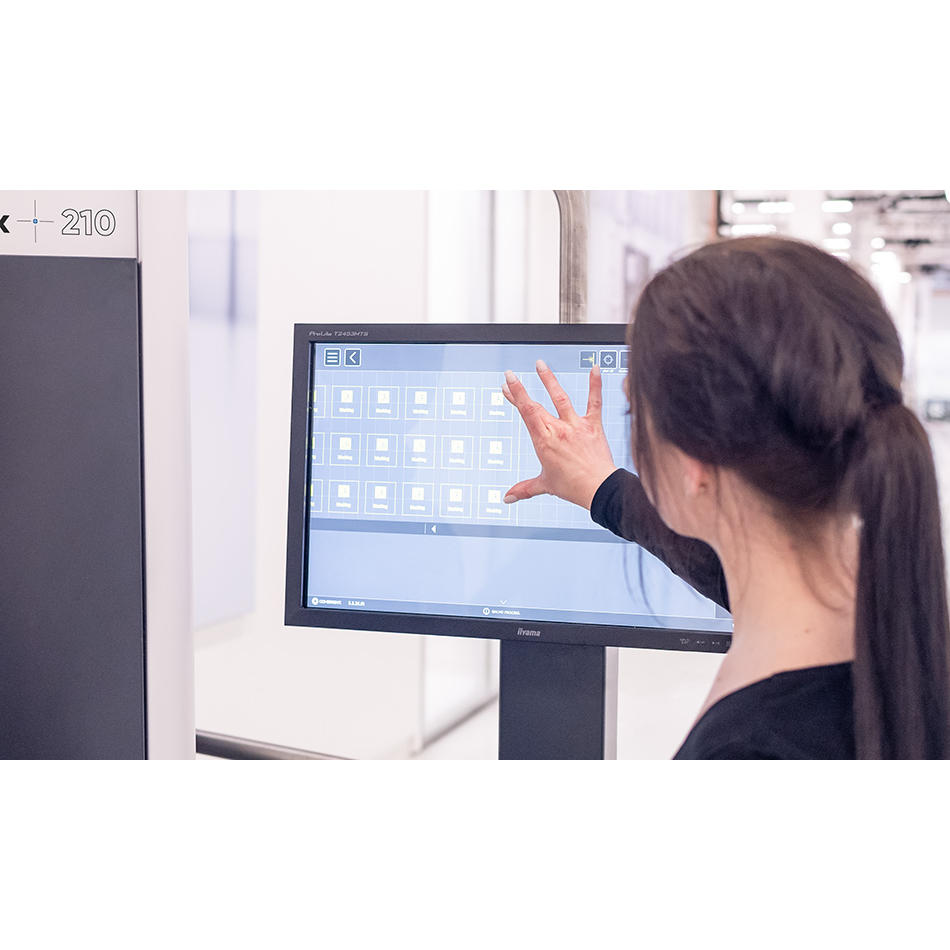
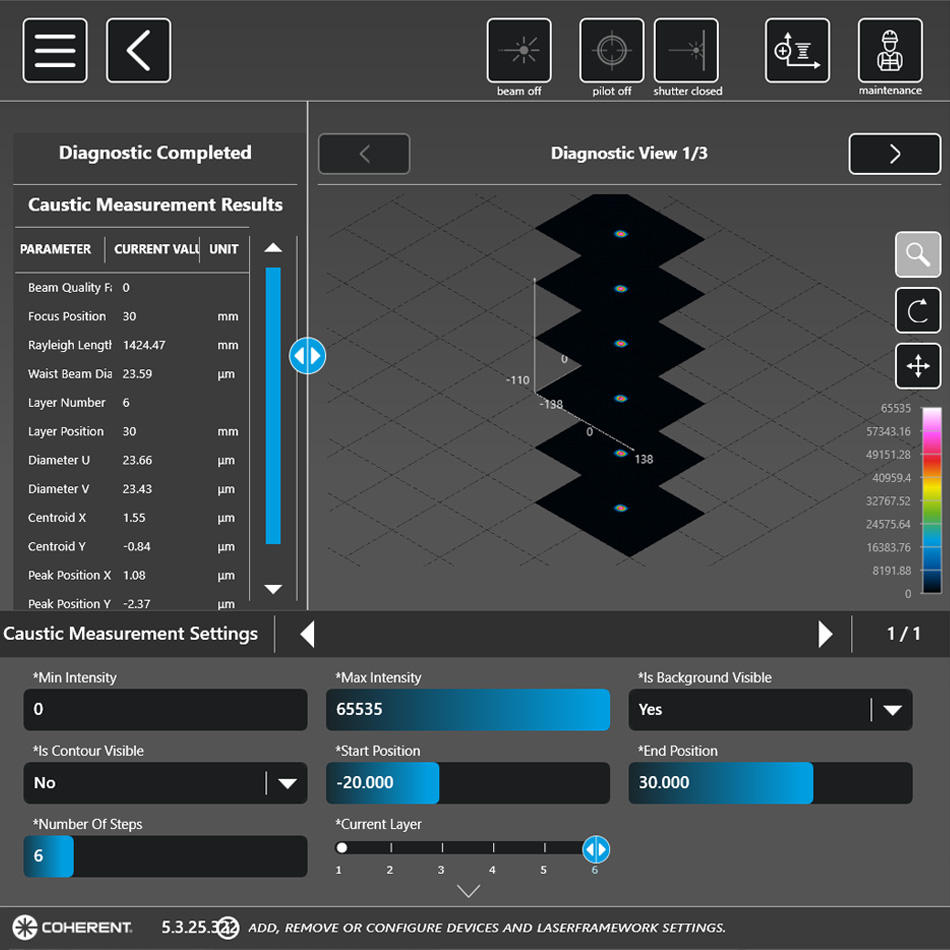
In addition, all the tools needed to control and use BeamInspect are already built into Coherent Laser FrameWork, our integrated software platform (or the StarCut Tube interface for those systems). So, it’s easy to change laser settings to make a series of measurements, log and analyze data, or move the laser around to different positions. And, even if you do that, the precise beam alignment necessary to get accurate measurements is maintained through mechanical tools and pre-programmed search routines already integrated in the machine software.
You won’t waist time with BeamInspect
BeamInspect performs precision, automated measurements, and calculations of all the beam parameters that impact process results. These include:
- Beam waist diameter
- Beam intensity profile
- Rayleigh length
- Beam M²
- Beam caustics (how beam profile changes through focus)
- Beam drift behavior when the optics are moved
- Lateral beam position
- Focus location
Plus, all this data can be logged for process certification and tracking purposes. This even allows you to develop a library of optimum processing conditions for each material type and thickness you work with.
Because BeamInspect is always available and so easy to use, you’ll use it all the time – maybe even between every single production run. For example, you could task it with automatically verifying and optimizing beam focus position to within ±10 µm before starting a cutting job to ensure the highest possible precision.
Monitoring spot quality with BeamInspect will also help you detect optical misalignments or changes in beam quality due to component damage or degradation. All this enables you to speed system setup, cut down on scrap, avoid costly downtime, and schedule preventive maintenance when it’s most convenient.
Process quality made easy
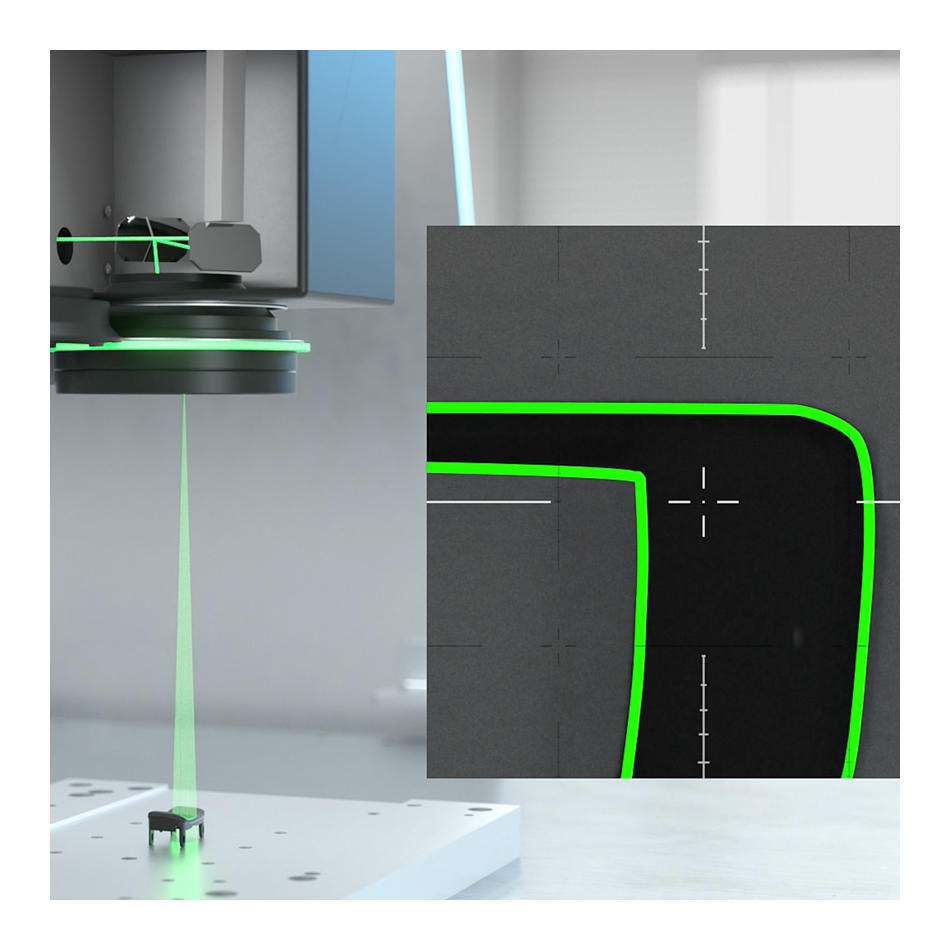
BeamInspect provides the easiest and most direct way to maintain the stringent process quality required for manufacturing high-precision products. It’s especially useful for producing medical devices like hypotubes, endoscopes, TAVR tools, and other implants.
Discover how to make your laser the sharpest knife in the drawer with BeamInspect.
Related Resources


